Course Objectives:
Explore a variety of hand building techniques
Develop personal artistic and creative expression through clay
Learn how to create one-part molds from found objects and patterns
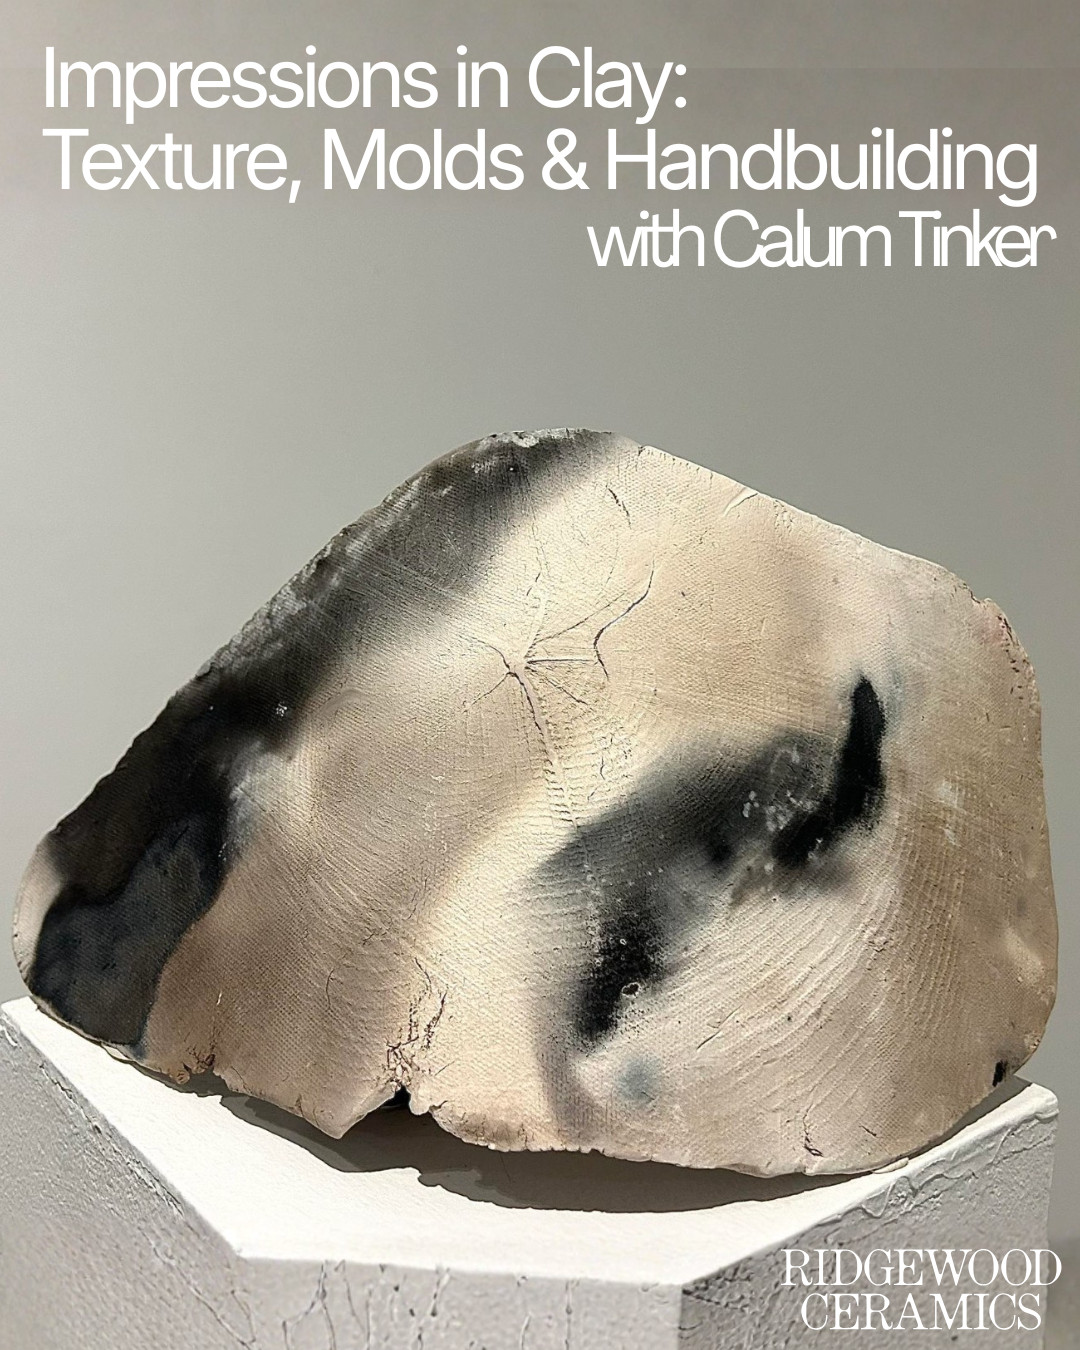
Use molds and found objects to create impressions and textures on clay
Explore carving, surface decoration, and other ways of creating texture
Gain an understanding of glaze application and the firing process
Develop functional and sculptural forms using handbuilding techniques
Experiment, explore, and have fun!
Week 1: Introduction to Clay & Studio
Studio orientation and cleaning procedures
Introduction to clay and basic ceramic terminology
Tool demonstrations
Coil-building demonstration
Begin your first hand building project
Introduction to texture and impressions
Homework: Gather found objects and textures to use for making impressions. Look around your home, in nature, at thrift stores, etc.
Think lace, fabrics, buttons, embroidery, toys, shells, leaves, textured objects, etc.
Please only bring objects that can safely get dirty and will not be damaged by clay
Week 2: Creating Texture & Making Impressions
Introduction to one-part molds
One-part mold demonstration
Create molds from your found objects
Experiment with direct impressions and textures
Carving and surface decoration demonstrations
Create textured slabs and molds to use in future projects
Begin experimenting with your molds to create repeating patterns and impressions
Week 3: Slab Building & Working with Impressions
Slab-building demonstration
Incorporate impressions and textures into your pieces
Explore how texture can change the shape, structure, and surface of a form
Build functional or sculptural forms
Continue earlier projects or begin a new piece
Week 4: Developing a Personal Project
Develop a personal functional or sculptural project
Combine hand building, impressions, molds, and/or surface decoration
Experiment with ways to push your molds and textures further
Week 5: Finishing & Preparing for Bisque
Complete all pieces and prepare them for bisque firing
Refine forms and surfaces
Clean seams and refine edges
Add final details and textures
Final surface preparation
Prepare finished pieces for bisque firing
Week 6: Sanding & Glazing
Sand and refine bisque-fired pieces
Glazing & staining demonstration
Introduction to glaze application and techniques
Explore how glaze interacts with texture and impressions
Glaze all finished pieces
Discuss the final firing process
No previous experience is required. This course is designed for beginners.
What’s Included:
Registration includes 25 lbs of clay, access to shared studio equipment and tools, and fair use of our in-house studio glazes.
Students also receive 4 hours of independent Open Studio time each week to practice, glaze, or continue working on pieces outside of class.
Open Studio takes place during designated studio hours and is shared among currently enrolled students.
Students are welcome to use our shared studio tools, though we recommend bringing your own basic pottery tool kit or purchasing one at the studio.
Firing is charged separately at $0.02 per cubic inch, per firing. Most completed pieces require both a bisque and glaze firing, for a total of $0.04 per cubic inch.
Pottery gets messy so please wear comfortable clothes and shoes you don’t mind getting clay on.
Instructor:Calum Tinker
Duration: 6 consecutive weeks, meeting on the same day and time each week.